CopyLess and Keyboard Maestro Clipboard History
I wrote a quick review of CopyLess back in January. At that time I had about a month of usage under my belt. Fast forward 7 months and I’m still using it every day. I’ve moved away from Keyboard Maestro for managing my clipboard but it’s also a great option.
I thought it might be nice to write a head-to-head comparison of each tool.

The Palette
Both CopyLess and Keyboard Maestro present a floating palette with visual indication of the type of material in the clip.
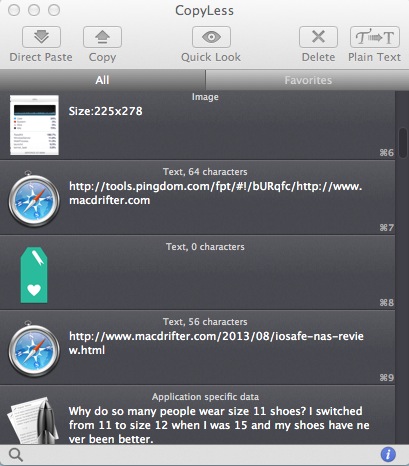
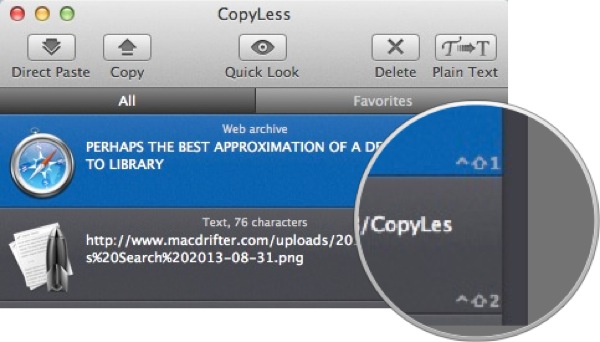
Here’s the CopyLess palette:
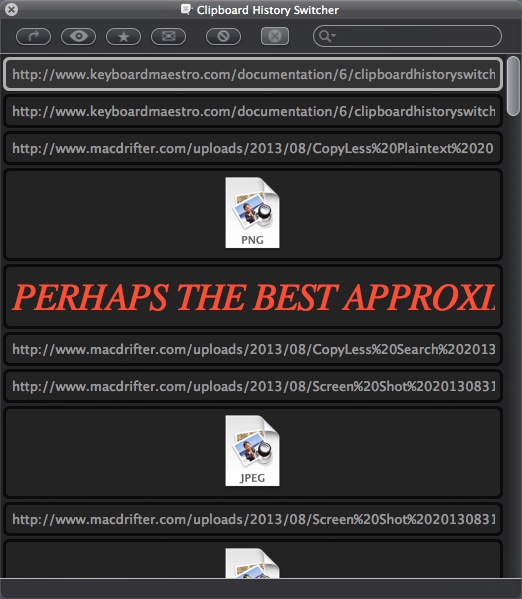
Here’s the Keyboard Maestro palette:
The big difference is how I use each one. I keep the CopyLess palette always active with transparency turned up to leave a faint ghost window. If I want to explore the window, hovering the mouse cursor brings back full opacity mode.
With Keyboard Maestro, the palette is activated with a keyboard shortcut and remains active until the escape key is activated.
Items can be dragged directly into the CopyLess palette from the finder. Dragging an image from a web browser inserts the URL for the image into the clipboard history.
Additionally, I really like the extra information CopyLess provides in the history list. For the first 10 items, the corresponding keyboard shortcut is displayed. For the remaining items, the age (in minutes or hours) is displayed. Images display their dimensions in pixels. CopyLess also shows what app created the clip. Overall it’s a lot of useful information packed into one window without obscuring the clip.
History Search
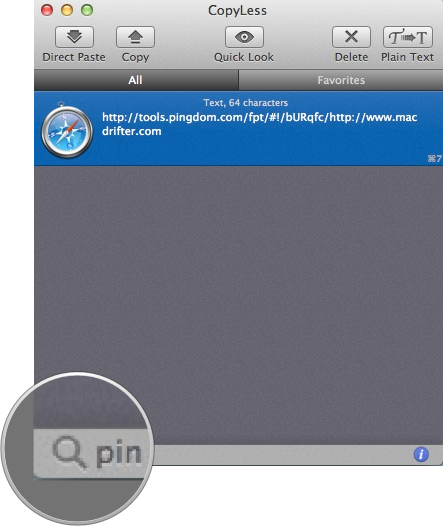
Both utilities provide an option to search the history. Search filters the displayed list by matches. The search functionality is more obvious in Keyboard Maestro.
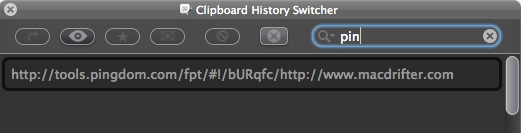
To search in CopyLess you just start typing. However, to reset the view to show all entries you have to click the magnifying glass icon.
Keyboard Shortcuts
The keyboard shortcuts for CopyLess are very nice. Single shortcut to insert a specific history item. While I like the power that Keyboard Maestro clipboard history provides, I like the simplicity of CopyLess.
To insert an item from CopyLess, I just hit the keyboard shortcut sequence that I configured, ctrl+shift+number. There’s no need to activate the main window.
Keyboard Maestro requires the Clipboard Manager window to be activated by a hotkey sequence. My shortcut is ctrl+opt+CMD+\ to bring the KM clip manager forward. Clips are accessed with the up and down arrows. Hitting return inserts the clip in the front document. Hitting shift+return inserts plain text of the clip.
CopyLess also has an optional “serial paste” mode. Once activated in the advanced preferences this mode moves the last clipped item to the end of the list. This allows me to paste a sequence of items by hitting just ctrl+shift+number repeatedly. For example, hitting ctrl+shift+5 will start with pasting history item 5 and then move that item to the top of the stack. The next ctrl+shift+5 will paste what was the 4th item.
Quick View
CopyLess wins this category. While the Keyboard Maestro quick view displays formatted text and some images, CopyLess handles many more image formats.
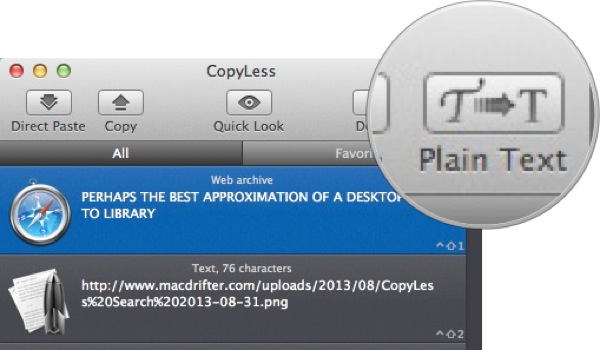
Plain Text Pasting
I like how Keyboard Maestro handles conversion to plain text. With a snippet rich text selected in the history list, just hit shift+return to paste as plain text.
In CopyLess, the plain text mode is toggled with a hot key combination (shift+ctrl+T by default). There’s a lot to like about this option for writing in Markdown in Mail.app. Just toggle and start pasting.
Conclusion
I’m still a consistent and enthusiastic user of Keyboard Maestro. However, I really prefer CopyLess for managing my clipboard history. It’s not the sophisticated tool that Keyboard Maestro is, but it performs its functions exactly as I need them.
CopyLess | Mac AppStore | $5
Keyboard Maestro | Direct Download | $36