The Mac Scanner Interface
The Fujitsu ScanSnap is a marvel of engineering.1 I use mine every day. There are a few things that I can’t send through a ScanSnap though. Documents found on the floor of a car, covered in glitter, or just not flat and smooth enough to go through the ScanSnap rollers all require more care.
Using a scanner on the Mac has never been easier than in Lion and Mountain Lion.
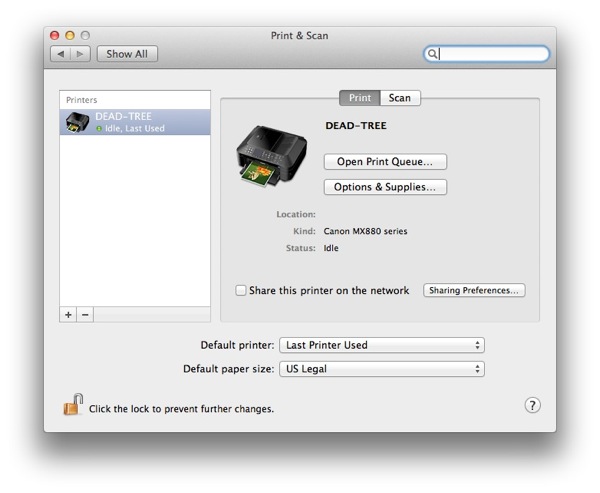
I’m using a networked Canon MX880 Multifunction Printer and Scanner but this should work with any “modern” scanner. OS X automatically recognizes it as a scanner as well as a printer. To check, go to the “Print & Scan” preferences in OS X. It will be pretty obvious if it is recognized as a scanner.
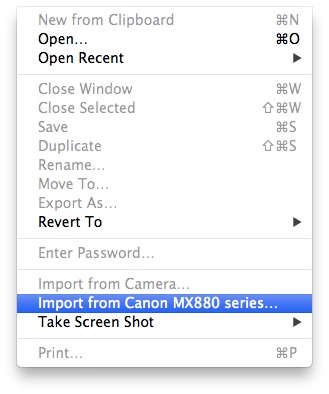
In any application that provides an option for scanning choose “Import from Scanner”. The wording may be different for each application. This is also available directly through the “Print & Scan” preference. In this case I am using Apple’s Preview application.
The OS X scanner interface will appear. Hit the “Overview” button to get a scan preview and to see the scanning options.
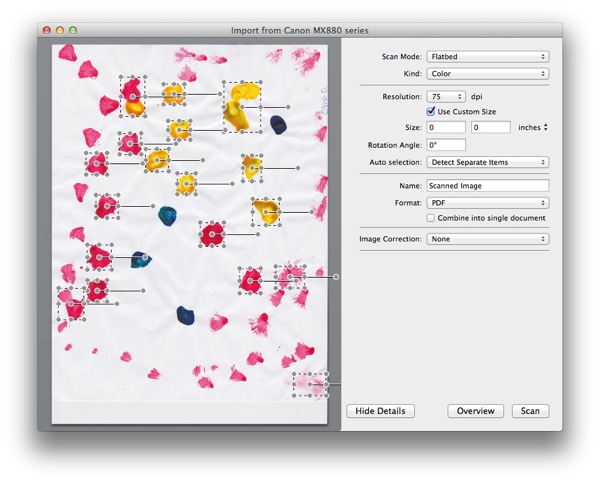
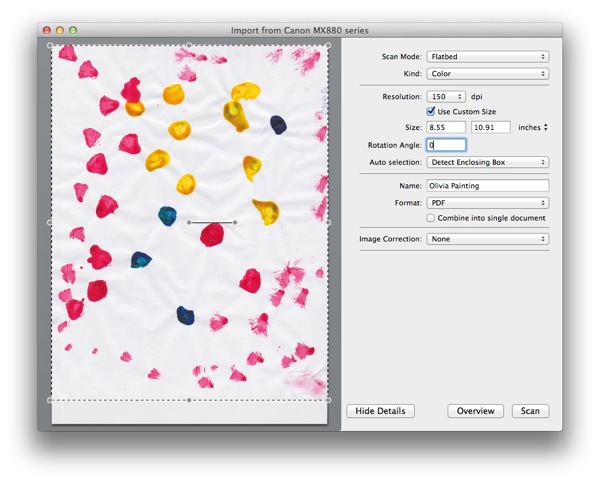
In the example above, the “Auto Selection” is set to “Detect Separate Items”. This is not how I want to scan. It will create a separate documents for each selected item on the page. I prefer “Detect Enclosing Box” which provides a single selection box. I also prefer to scan to PDF. I also bump up the image quality for anything other than black and white PDF scans.
Here’s the setup I prefer for my daughter’s master works:
I use this for OCR scanning in Devonthink Pro Office and in PDFPen Pro.
-
Affiliate link ↩︎