Styling OmniOutliner on the Mac
As I have mentioned, my dear wife is now a full time OmniOutliner user. She started on the iPad and eventually migrated to the Mac. One major advantage of using OmniOutliner on the Mac is that you can design templates that automatically handle formatting based on context. The Omni Group provides some tutorials and some specific demos of styles but I decided to whip up a little tutorial for my wife and I am presenting it below. This tutorial covers the basic of making a custom document template and using the text styling tools (Disclaimer: I am not an expert user by any means. I'm a hack. There may be better ways to do some of the things I show. Add them to the comments if you know of any).
- Color
- Utility Drawer
- Styles Selector
- Inspector Panel
- Formatting a document
- Highlighting
- Save As Template
- The Results
A brand new OmniOutliner document is pretty plain. It’s functional but does not leverage visual elements to communicate additional meaning. 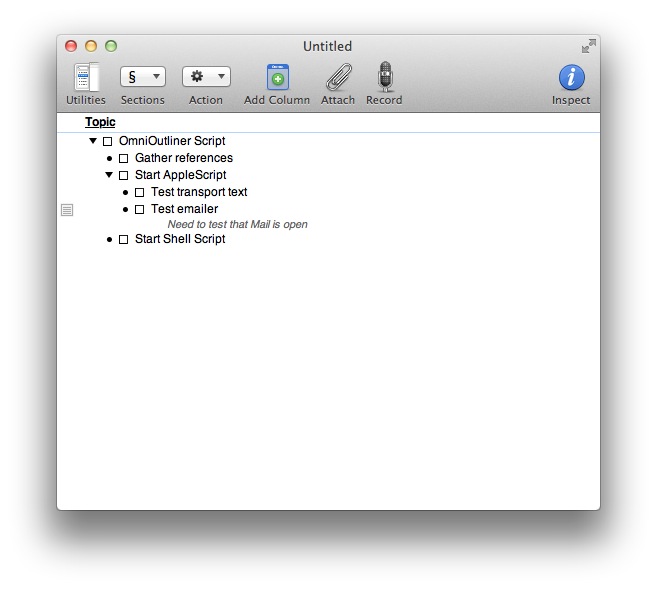
If your outlines look like that, then you may be missing helpful contextual information that can be provided by styling your text. With only a minor amount of fiddling and tweaking OmniOutliner on the Mac can produce a beautiful and functional template that can be reused ad infinitum.
Color
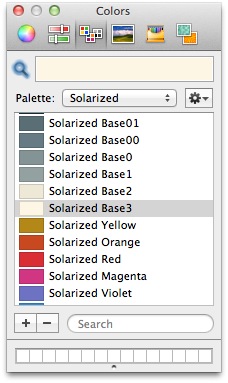
Coloring an outline can be a tricky endeavor for me. While a color can draw my attention, it can also distract it. For example. I prefer soft and mid-tone colors. One of the best color palettes I can choose is the Solarized palette by Ethan Shoonover. It’s well considered, meticulously designed and free. This palette has been adopted by the OmniGroup in OmniOutliner for the iPad. It’s that good.
The Right Tools
The best place to begin designing a template is to grab an outline that you would want to apply the template to. OmniOutliner allows text formatting based on its outline properties. For example, I can have every triple-indented row be colored red (just for the example. That would actually be pretty awful). However, to set that up in OmniOutliner I need to have a row that is already indented to that level. It’s just easier to grab an existing outline to begin with.
Utility Drawer
Once I have an outline, I need the utility drawer displayed (ctrl-cmd-T). This drawer gives me access to the outline properties. I also like to turn on the styles view to better understand what outline properties will be changed. To access the styles view, look under the View menu. 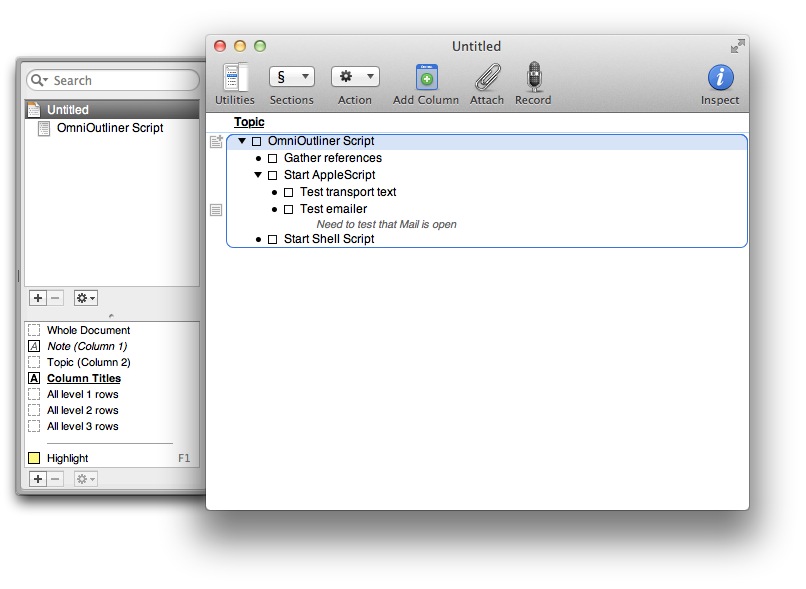
Styles Selector
The Styles Selector appears inline with the outline content. It provides a quick way to select all entries at a specific level. It also gives you a quick way to see what styles are applied. There's not much to look at if an outline is not using styles, as shown below.

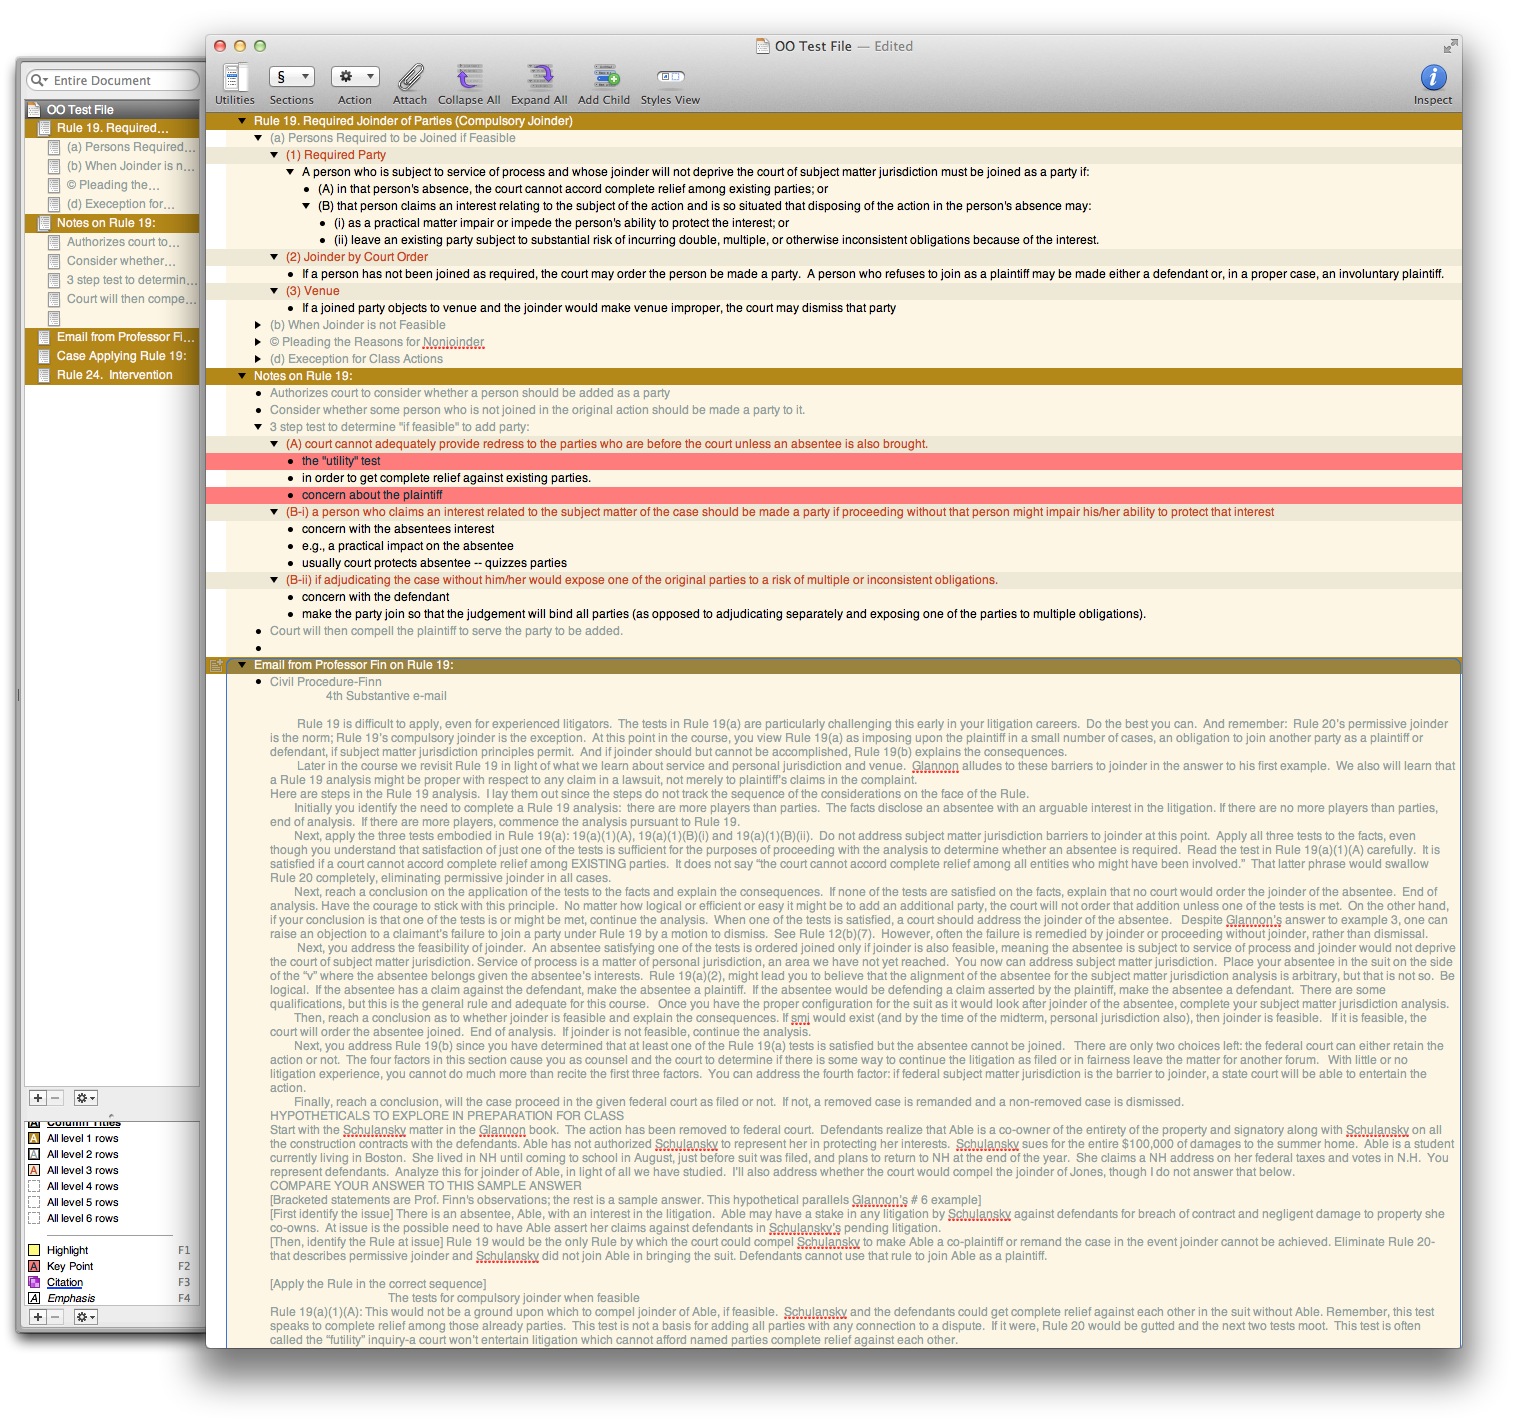
Here's what a fully formatted outline might look like with the Style Selector turned on. Notice how easy it is to see what formatting to expect. It's also a quick representation of how many child levels there are for each row. Six boxes mean that there are six different levels below that row. One box means a row does not contain any child rows.

Select the third box from the left and all elements of the same level are selected at the same time. This is the easiest way to change the formatting for all rows of the same level.
The Inspector Panel
I need the inspector window open since that is where I’ll have access to all of the text formatting tools. The inspector items that are the most useful are the "Appearance" section (cmd-1) and the "Style Attributes" section (cmd-5).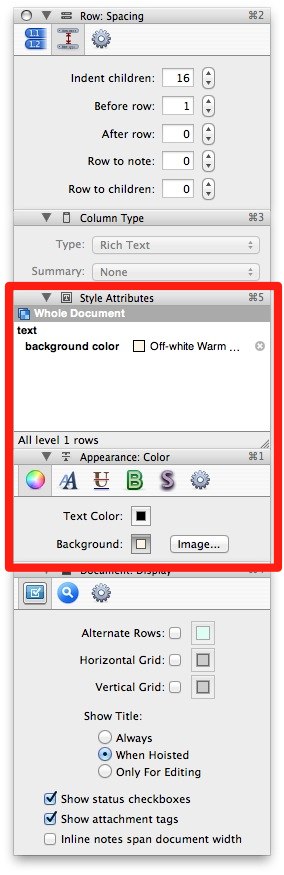
To change the text color, click the text color square. The default color is black, but now that we have the Solarized color scheme palette installed we have a better mix of colors available. The same goes for the text background.

The "Style Attribute" Inspector pane displays the formatting for the currently selected rows. You can add and delete formatting for a row from this pane. In the image below I have a row that inherits a number of styles from parent elements. If I decide I want to replace that format I can click the delete icon next to the entry. As I add additional styling, the attributes will appear here.

Get It Done
There’s not much to the actual setup. I select an element to format in the utility drawer on the left. I generally start with the document background. Select the Document Background in the utility drawer and then set the background color on the inspector palette (the floating window palette). 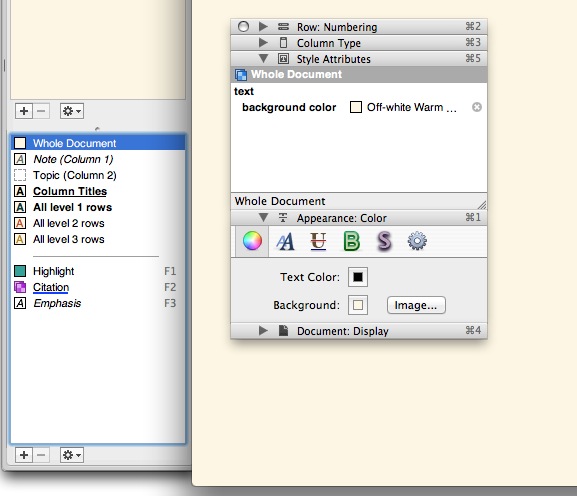
I then work may way through all of the other outline elements. I start with the level one element and work my coloring down through levels three and four. I rarely need an outline more than four levels deep. Especially since OmniOutliner also allows for multiple columns and a notes field.
The Details
Text formatting is an essential tool in good outlining. But to get an attractive outline that I enjoy reading and sharing, there a few more details I consider.
Columns
For a standard outline I do not need multiple columns. Columns can be useful for things like meeting notes, but outlining a paper or book is usually a pretty flat process. In that case, I make sure I do not have extraneous columns included in the document. If they are not in use, why would I want to stare at them all the time? Columns have another piece of baggage that they bring along. They have titles. In a single column outline, the column-title is simply “Title”. That’s not so useful, so I hide the column heading. 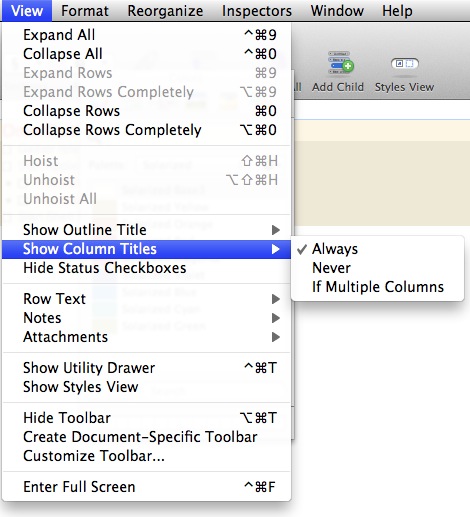
Minor Bits
Here’s a few other things I do for making an outline look tidy:
- Hide Status Checkboxes unless I need them.
- Use Bold and Italic sparingly. I want them to stand out. I may also want to manually apply that formating while I’m creating the outline.
- Use a slightly darker background on the level-one properties. I find that this helps me to quickly distinguish when a section is expanded.
- I format the “Notes” property as well. They showup in-line for me so I want them to fit right in with the rest of the outline.
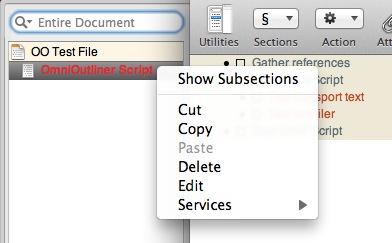
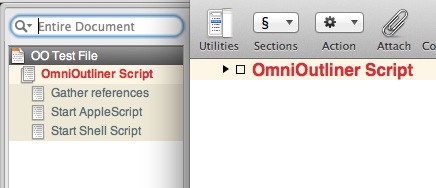
- Display subsections in the utility drawer. It acts as a quick-access bookmark viewer. It’s a handy tool for jumping to sections across a large outline.
Highlighting
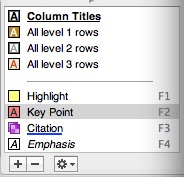
There’s one last bit of custom formatting I like to do. I like to create my own highlighting colors. These are particularly handy on the Mac (not so useful on the iPad) because they can be associated with an F-key for quick highlighting while editing or reviewing. Highlights can include any formatting elements, including underline, bold and font size. These are where I’ll include some bold colors and formating. If I am highlighting something, it’s because I want it to jump off the screen.
Highlights are assigned an F-key when they are created. Just click the "+" icon to add a new one. To change the F-key just click and drag the Highlight item up or down. F-keys are assigned by their order in the list.
 Highlighting
Save As Template
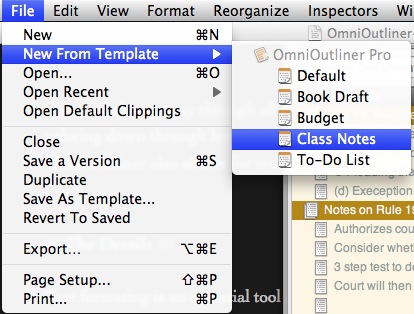
So now I’m feeling pretty great about my outline. It looks good and I can add additional items and they are formatted automatically. Great. But what if I want to create an entirely new outline? On the iPad, the process starts with opening an existing outline and deleting all the entries before saving as a new file.
On the Mac, it is much more simple. After configuring all of the formating in an outline, I delete all of the content and choose “File…Save As Template”. Now when I want to start a new outline I can choose “New from Template” and select my swanky template from the drop down menu. I get an empty document that is ready to use with my settings. As I type and indent, I will get styles applied automatically for me.
Here's a nice trick for OmniOutliner on the iPad. If I Create a new empty document from my styled template, I can send that to my iPad for OmniOutliner on iOS. The document appears to be empty, but obeys the styles as defined in the template. There's no need for me to delete content in the "template" on iOS. I can just start adding information and the styles are applied automatically for me.
I also get access to the highlights I configured. That means while I type, can hit "F2" to highlight text. That's a lot better than typing it all out and then selecting it for highlights.
Results
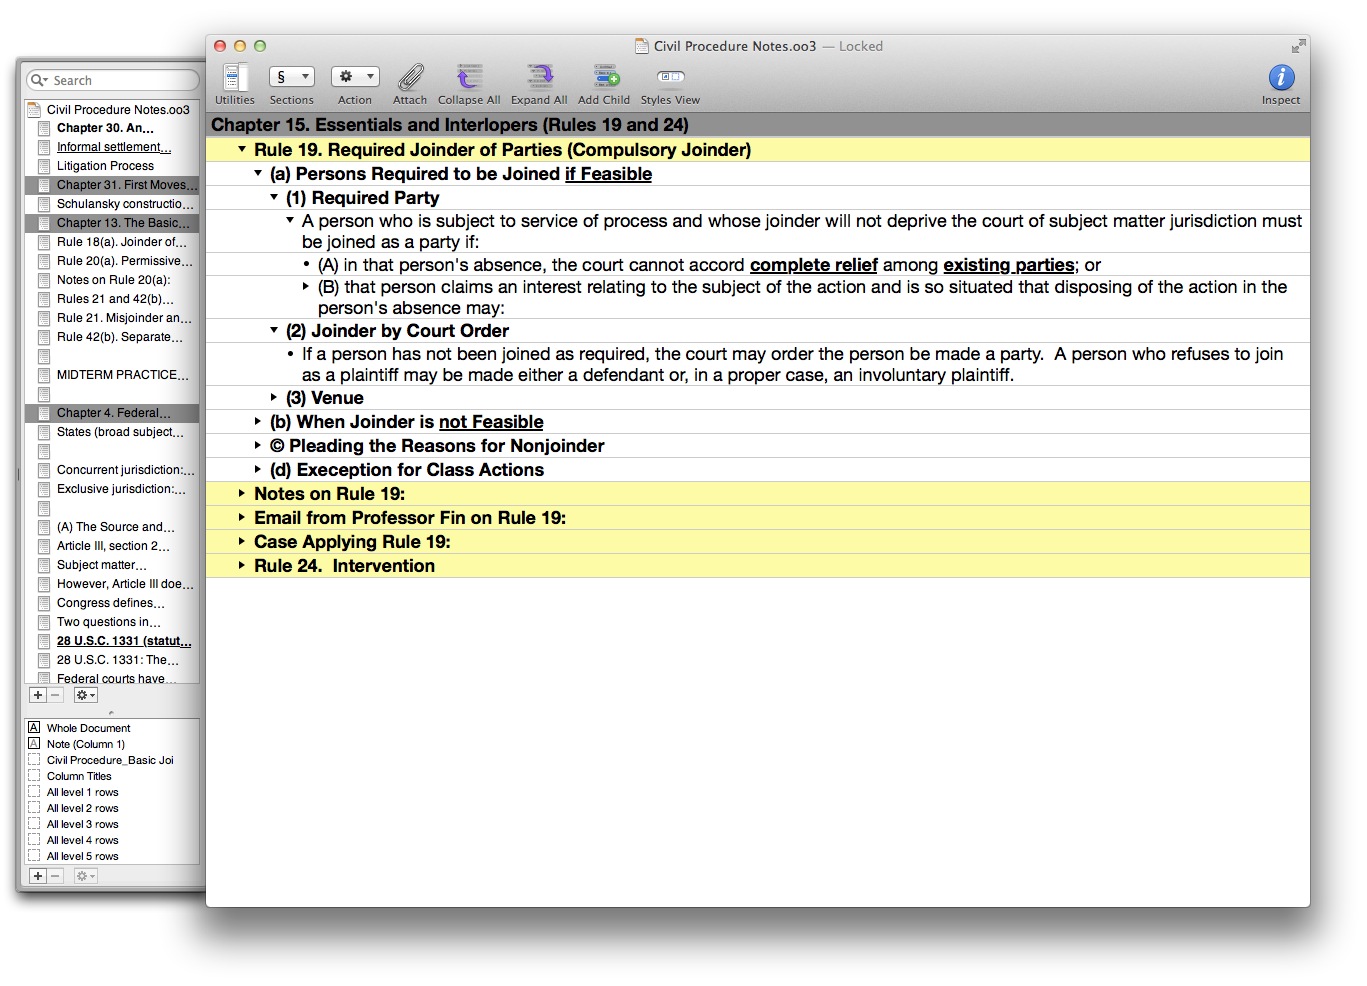
The proof is in the pudding. How does the outline look when you’re done? Here’s some before and after. Each outline is using some degree of text formatting and highlighting. The "Before" outline was formatted as it was typed by the author. The new template applies formatting (except highlighting) automatically without the need to fiddle with styles
Before